Laundry on Hold? How to Store a Washing Machine Safely Until Your Move Is Complete
Moving into a new home does not always happen in one neat, carefully timed sequence. Sometimes you have to leave your current home before the next one is ready. In other cases, renovations are still underway, contractors need clear access to certain rooms, or there simply is not enough space to unpack everything at once. Large appliances can be particularly awkward during this in-between period, and a washing machine is one of the household items that deserves a little extra planning. After all, a washer is not simply a large metal box that can be unplugged and set aside. Water passes through several parts of the appliance every time it runs, and small amounts of moisture can remain behind even after the drum appears empty. The machine also contains internal components designed to move in very specific ways during operation. As a result, proper preparation matters if the washer will be transported and left unused for an extended period.
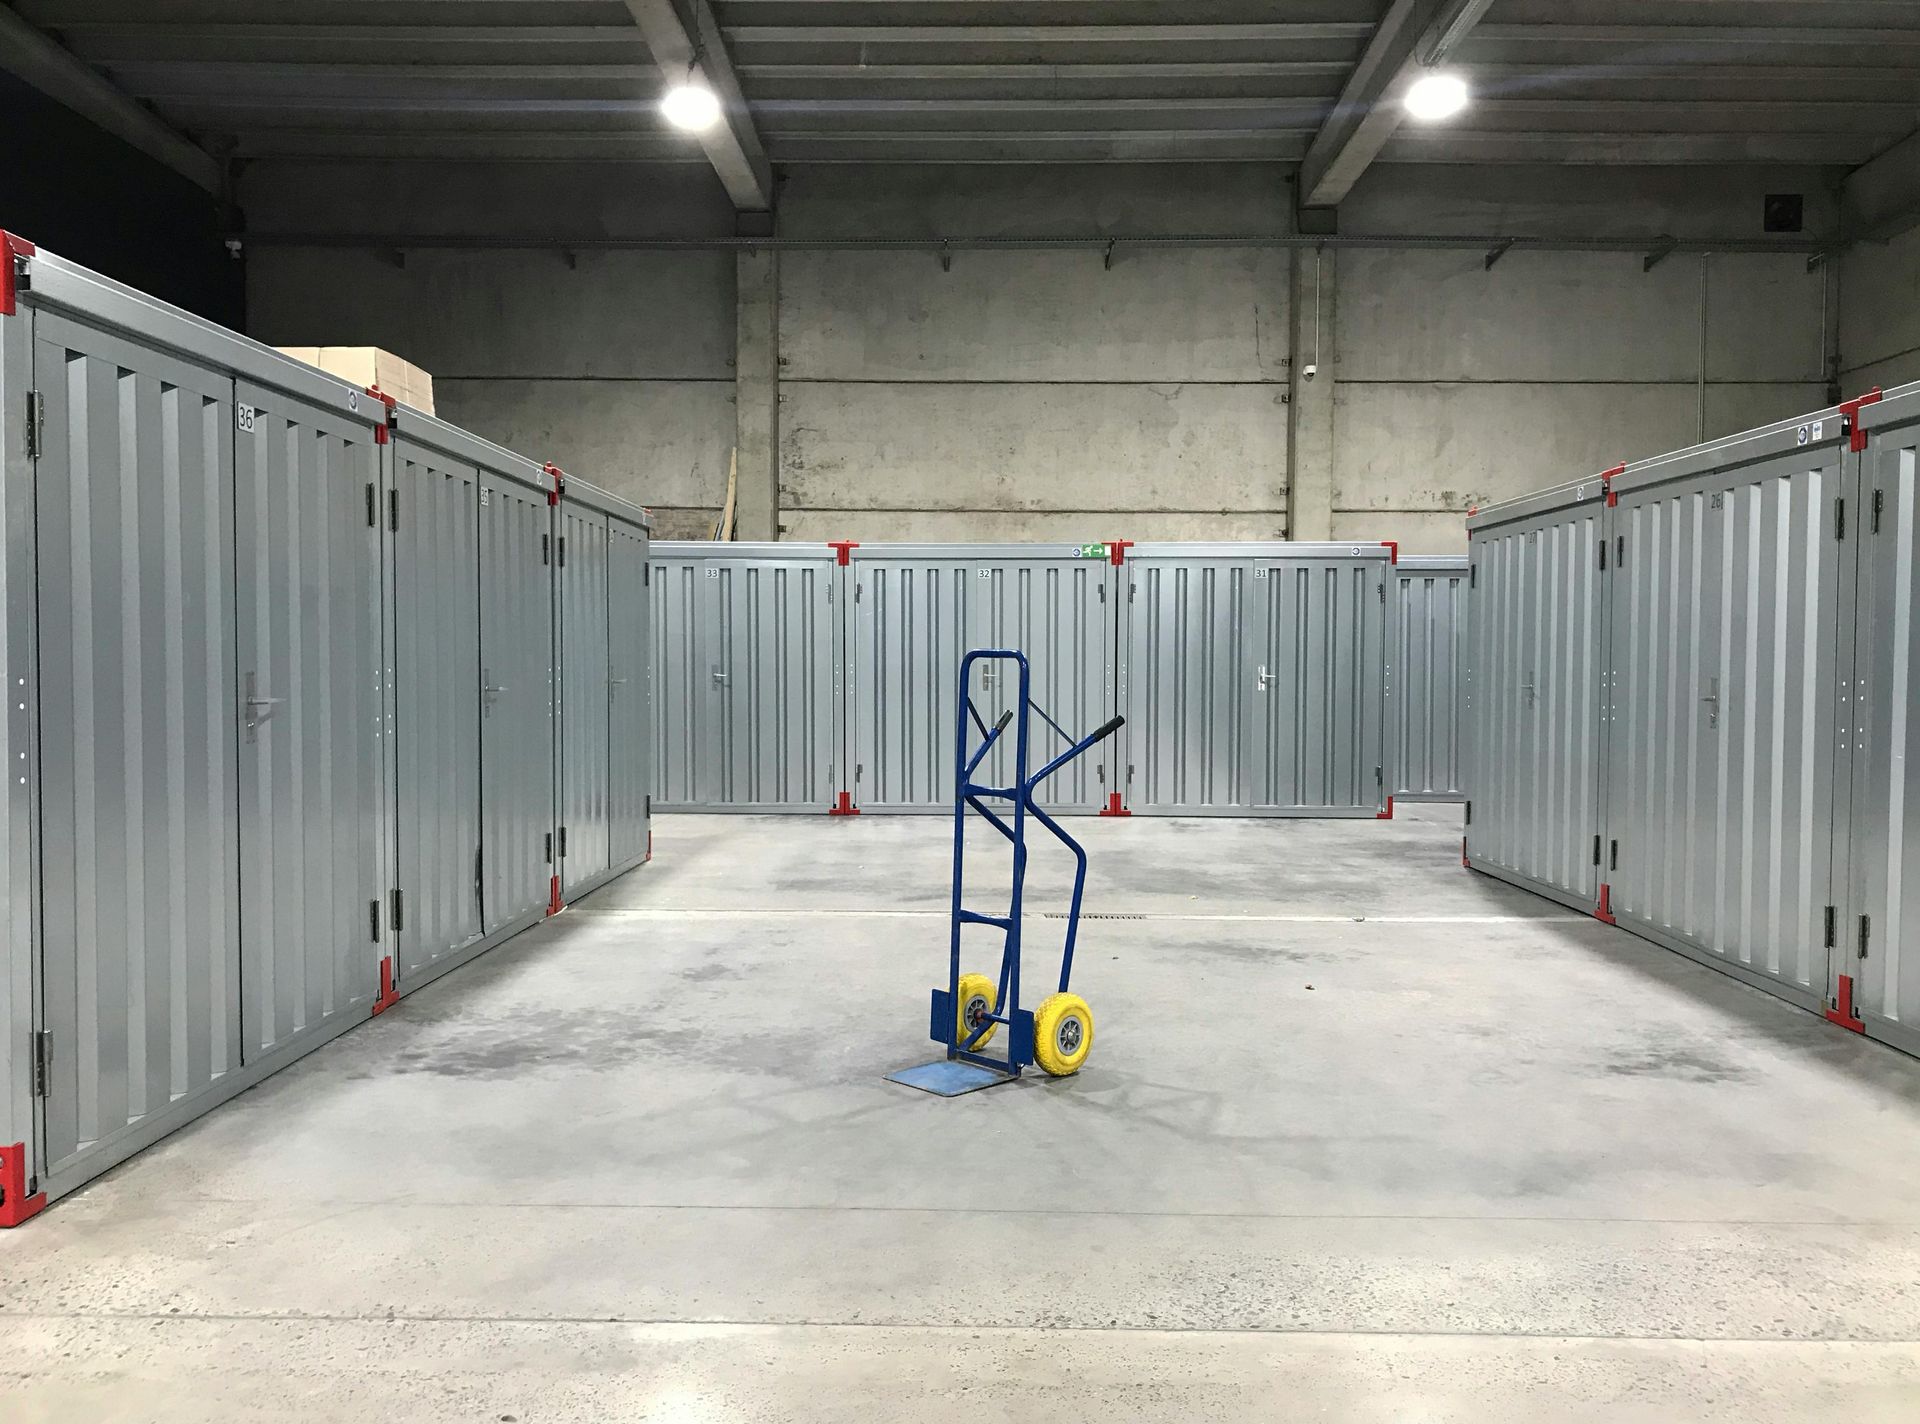
For people moving in or around Western Massachusetts, storage options in Agawam can provide temporary space for appliances and other belongings while the rest of a move comes together. However, simply getting the washer into a storage unit is only half the job. Cleaning it, draining it, moving it correctly, and choosing a sensible place for it inside the unit can make a significant difference when the time eventually comes to install it again.
Key Points for Readers Short on Time
- Clean the washing machine before disconnecting it, paying close attention to detergent dispensers, seals, the drum, and other places where residue can accumulate.
- Shut off the water supply, disconnect the machine safely, and drain the inlet and drain hoses as thoroughly as possible.
- Allow the washer and its components to dry before covering or storing them so moisture is not unnecessarily trapped inside.
- Follow the manufacturer's instructions for transportation, particularly when it comes to securing the drum or reinstalling shipping bolts.
- Keep the washer upright in storage, protect its exterior, and position it somewhere accessible so you do not have to move an entire unit of belongings when you need it again.
Why a Washing Machine Needs Special Attention Before Storage
If you are in the middle of a move, it is understandable to want the fastest possible solution for every large item. A sofa can be covered. A dining table can often be disassembled. Boxes can be labeled, stacked, and forgotten about until unpacking day. A washing machine, however, presents a different set of concerns because plumbing, electricity, moisture, weight, and moving internal components all come into play. First, consider what happens inside the appliance during normal use. Water enters through supply hoses, moves through the machine, and eventually leaves through the drainage system. Although the washer pumps out the water at the end of a cycle, that does not necessarily mean every hose, seal, dispenser, and internal component becomes completely dry. Residual moisture can remain in places you cannot immediately see.
Additionally, a washer's drum and suspension components are designed to operate while the machine is sitting in its intended position. Transportation creates a very different kind of movement. Bumps, sudden stops, ramps, stairs, and turns can place unusual forces on the appliance. Consequently, moving the machine correctly is just as important as choosing a good storage location. The easiest way to approach the process is to think of washing machine storage as three separate jobs. First, prepare the washer so it is clean and dry. Next, prepare it for transportation so its components are appropriately secured. Finally, position it in storage so that it remains protected and can be removed without unnecessary trouble later.
Start With One Last Thorough Cleaning
Before reaching for the water valves or unplugging the machine, give your washer a proper final cleaning. This may seem unnecessary if the appliance looks clean, but appearances can be misleading. Detergent, fabric softener, lint, hair, and other residue can accumulate in dispensers, around seals, and in less obvious areas over time. Begin by consulting the owner's manual for the recommended cleaning procedure. Some washing machines include a dedicated self-clean or tub-clean cycle, while others have manufacturer-specific instructions regarding cleaning products and procedures. Following those directions is preferable to improvising with household cleaners that may not be suitable for the appliance.
Once the cleaning cycle is complete, wipe the accessible interior surfaces. If your machine has detergent or fabric softener compartments, inspect them carefully for buildup. Similarly, check around the lid, door, and any accessible rubber components. Front-load washers deserve particular attention around the door gasket because water and residue can settle within its folds. Meanwhile, do not overlook the outside of the appliance. Moving blankets will eventually cover much of the exterior, so wipe away detergent drips, dust, and grime beforehand. Cleaning these areas now means you will not uncover months-old residue when you finally install the washer in your new laundry room. More importantly, cleaning naturally leads into the next part of the process: drying. Once the washer is clean, avoid immediately closing the door and wrapping the machine for the move.
Give the Washer Enough Time to Dry
A freshly cleaned washer is still a damp washer. Therefore, allow enough time between the final cleaning and moving day for accessible moisture to evaporate. Leave the door or lid open while the appliance sits in a safe location. Wipe down the drum or basket, seals, and detergent compartments with a clean cloth, and leave removable compartments open or out to dry if the manufacturer's instructions allow it. If you can schedule this preparation before the busiest part of moving day, even better. The washer can air out while you concentrate on packing other rooms.
This drying period is important because tightly covering an appliance while it is still damp can trap moisture rather than solve the problem. That may contribute to stale or musty odors during a longer storage period. In other words, the protective covering that is supposed to keep dust off the washer should not go on until the machine itself is ready. At the same time, remember that wiping down the visible drum does not address all of the water associated with a washer. Before the appliance can be moved, its water connections and hoses also need attention.
Shut Off the Water Before Disconnecting Anything
Once the washer is clean and has had time to dry, you can begin disconnecting it. Before doing so, unplug the appliance and shut off both the hot and cold water supplies. Because washers and laundry room configurations vary, refer to the owner's manual for instructions specific to your machine. It is also worth preparing a little water before removing any hoses. Keep towels, a bucket, or a shallow container nearby. Even though the supply valves have been shut off, water may remain inside the hoses and connections.
Disconnect the inlet hoses carefully and direct any remaining water into the container. Then address the drain hose according to the manufacturer's instructions. For example, Maytag's guidance on properly moving a washer includes shutting off the water faucets, disconnecting and draining the inlet hoses, removing the drain hose from the drain system, draining remaining water, and unplugging the power cord as part of moving preparation. That sequence highlights an important point. Unplugging the washer is only one part of disconnecting it. The appliance also needs to be separated carefully from the water and drainage systems that have kept it operating in your home.
Take Residual Water Seriously
At this stage, the washing machine may appear ready to move. However, this is also the point where rushing can cause trouble. Hoses that look empty can still hold small amounts of water, particularly where the hose bends or curves. Give disconnected hoses time to drain fully. Repositioning them gently can help water trapped in a low point work its way out. Afterward, wipe the ends and accessible surfaces dry. Depending on the washer, additional drainage procedures may also be recommended before transportation or long-term disconnection. Instead of dismantling parts of the machine yourself, consult the owner's manual for the exact model. Manufacturers may provide specific instructions for draining, winterizing, servicing, or preparing the appliance for a move.
The overall goal is straightforward: remove as much residual water as the manufacturer's procedure allows, and then give accessible components another opportunity to dry. This is one reason it helps to prepare a washing machine before the moving truck arrives. Trying to clean, drain, dry, and secure an appliance while everyone is waiting to load it creates unnecessary pressure. A little planning gives you time to do each step properly.
Organize the Hoses, Cords, and Small Components
After disconnecting and draining the washer, you will have several loose components to manage. Depending on the model, these may include inlet hoses, a drain hose, an electrical cord, clamps, caps, shipping hardware, or other small pieces. Do not allow these items to dangle loosely during transportation. A hose hanging behind the washer can snag on a doorway, moving blanket, hand truck, or another piece of furniture. Likewise, a loose power cord can become damaged or create a tripping hazard while the appliance is being maneuvered.
Instead, follow your manufacturer's directions for securing these components. Some manufacturers instruct owners to place certain hoses inside the washer basket or drum during transportation, while other models may have different recommendations. If small removable pieces need to travel separately, put them in a clearly labeled bag or container. Labeling may feel overly cautious when you are standing beside the washer and know exactly what every part does. A few months later, however, those pieces may be surrounded by boxes of hardware from furniture, televisions, shelving, and other appliances. Clear labeling can turn reinstallation into a much easier process.
Protect the Drum Before Transportation
Once the water-related preparation is complete, attention should shift to the washer's internal movement. This is especially important because the drum is suspended in a way that allows controlled movement during normal washing and spinning. Transportation is different. The machine may travel over uneven pavement, ramps, thresholds, or stairs. Without the proper preparation, that movement can put stress on internal components.
Some washing machines, particularly front-load models, use shipping or transport bolts to secure the drum during a move. Whirlpool's guidance on shipping bolts for front-load washers explains that these bolts hold the drum securely during transportation and help prevent damage caused by movement. If your washer originally came with shipping hardware, check the owner's manual to determine whether it needs to be reinstalled for transportation. If you no longer have the original parts, do not improvise with random bolts or hardware from another appliance. Contact the manufacturer or an appropriate appliance professional to determine the correct solution for the model. Just as importantly, transport bolts are for transportation. They are not meant to remain installed when the washer returns to normal operation. Keeping a note with the appliance or its accessories can help prevent that detail from being forgotten several months later.
Photograph the Connections Before the Washer Leaves
There is another simple preparation step that can save time later: take pictures. Before the washer is completely disconnected, photograph the water connections, drain arrangement, and any other relevant installation details. You may also want a clear photo of the appliance's model and serial information. Keep those images somewhere easy to locate instead of relying on them remaining buried among hundreds of moving-day photos.
Additionally, if you remove transport hardware or other components, take a picture showing where they belong. Then label the hardware accordingly. This approach is useful because moving creates an enormous number of small details to remember. By the time you reconnect the washer, you may have assembled furniture, changed addresses, unpacked dozens of boxes, coordinated utilities, and handled countless other tasks. There is no advantage in relying on memory when a few reference photos can preserve useful information.
Keep the Washing Machine Upright During the Move
With the washer cleaned, drained, dried, and secured according to its instructions, the next challenge is getting it from the laundry room to storage safely. A washing machine should not be treated like an ordinary moving box that can be turned onto whichever side fits best. Follow the manufacturer's transportation instructions for your particular model. Whirlpool, for example, advises keeping front-load washers upright during a move because moving them in another position may cause damage.
Because washing machines are both heavy and awkwardly shaped, this is also a job where proper moving equipment can make a considerable difference. An appliance dolly and suitable straps can help keep the machine controlled while moving through doorways or across ramps. Manufacturer guidance also commonly recommends having assistance rather than attempting to maneuver a heavy washer alone. Before transportation, protect the exterior with clean moving blankets or appropriate appliance padding. Secure the padding carefully without placing unnecessary pressure on controls, doors, lids, or other vulnerable components. Most importantly, avoid assuming that turning the machine onto its side is harmless simply because doing so makes it easier to fit into a vehicle. The washer's manual should determine how it travels.
Plan the Storage Unit Before the Washer Arrives
Once a washing machine reaches a storage unit, the temptation is to place it wherever there happens to be an open space. A better approach is to decide where large, heavy items will go before unloading. Think first about accessibility. If the washing machine is likely to be one of the first things you need when the new home is ready, placing it behind sofas, mattresses, tables, and dozens of boxes creates extra work. Conversely, if it will remain in storage for a long time, it does not necessarily need to occupy the most convenient position near the entrance.
Creating a simple layout can help. Large furniture and appliances can be positioned strategically, while an aisle provides access to belongings farther inside. Boxes can then fill appropriate spaces without making every item impossible to reach. If you are storing much more than the washer, these storage tips to get the most from your storage unit offer additional ideas for arranging belongings efficiently. The goal is not simply to squeeze in the greatest possible number of items. Good storage also means being able to retrieve what you need without unloading everything else first.
Choose a Stable Position and Give the Washer Some Space
The washer should remain upright on a stable surface throughout storage. Once it is positioned, avoid repeatedly shifting it around simply to make room for additional boxes. It is also sensible to leave some breathing room around the appliance. Packing objects tightly against the washer can make it difficult to access later, and unstable boxes or furniture could shift against the exterior. Similarly, avoid using the top of the machine as a shelf for heavy belongings. Although the flat surface may look convenient, the appliance was not designed to serve as a storage rack.
Covering the machine can help protect it from dust and minor surface contact. However, make sure it is completely dry first and use an appropriate breathable covering rather than sealing residual moisture inside. Thoughtful spacing becomes especially useful if you need to reorganize the unit later. Instead of having to drag the washer back and forth, you can leave it in a protected position while smaller belongings move around it.
Do Not Turn the Drum Into a Moving Box
When space is limited, the empty washer drum may seem like a perfect place for extra belongings. A few towels become a box of kitchen supplies, which becomes a collection of tools, cables, and miscellaneous objects before you know it. Unless your manufacturer's transportation instructions specifically direct you to put certain washer components inside the drum or basket, resist the urge to treat it as general packing space. Heavy or loose items can shift during transportation, and forgotten belongings can interfere with the appliance when it is eventually reinstalled.
There is also a practical reason to keep the inside relatively clear. When the washer comes out of storage, you want to be able to inspect the drum and other accessible areas immediately. Finding it clean and organized makes that process far easier. The same principle applies throughout a storage unit. Empty spaces are useful, but filling every possible cavity is not always the smartest way to protect belongings.
Think Beyond the Washer When Organizing Stored Belongings
A washing machine is rarely the only awkward item that needs temporary storage during a move. Garages, basements, sheds, and spare rooms often contain belongings that require their own preparation rather than simply being packed away. For example, vehicle tires should not be treated like ordinary boxes either. Rubber can deteriorate during extended storage if tires are left dirty or stored improperly. If your move also involves clearing out a garage, Agawam Self Storage's guide to preventing dry rot by storing tires properly provides useful information for preparing them.
Thinking about these items individually may initially seem like extra work, but it can prevent unpleasant discoveries later. Appliances need to be dry. Tires need appropriate preparation. Furniture may need protection from scratches. Fragile belongings require stable packing. In other words, a storage unit works best when it is treated as an organized extension of the moving process rather than a temporary place to put everything you do not know what to do with.
Make Reinstallation Easier Before Storage Even Begins
One of the best storage strategies is to think ahead to the day the washer comes back out. Keep the owner's manual accessible. Save photographs of the connections. Label hoses and hardware. If the machine requires shipping bolts, keep all relevant components together and clearly identify them. These small decisions reduce the amount of detective work required at the other end of the move. It can also help to label the protective covering or an attached tag with a short reminder, such as "transport bolts installed," if applicable to your model. That way, anyone helping with the latter move knows that the machine requires an additional step before operation. However, avoid attaching tape directly to delicate finishes or controls if doing so could leave residue or cause damage. A tag attached to the protective covering may be a better option. The principle behind all of these steps is simple: do not make future unpacking harder than it needs to be.
What About Longer Storage Periods?
If the washing machine will remain unused for several months rather than a few weeks, careful preparation becomes even more important. The same fundamentals still apply: clean it, drain it, dry it, secure it correctly, protect the exterior, and store it upright. For a longer stay, organization inside the unit also matters more. You may visit the unit several times before retrieving the washer, and other belongings may be added or removed along the way. Make sure new boxes do not gradually close off access to the appliance or end up stacked precariously against it.
Likewise, resist the temptation to unwrap and rewrap the washer unnecessarily. Once the appliance is clean, dry, appropriately covered, and positioned securely, leaving it undisturbed can help reduce the risk of accidental bumps or scratches. If you are uncertain about manufacturer requirements for an extended period of disuse, consult the manual or manufacturer before storage. Appliance designs vary, and model-specific instructions should always take priority over general advice.
Bringing the Washer Back Into Service
Eventually, the moving boxes will thin out, the new laundry space will be ready, and the washing machine can come home. At that point, give the appliance the same level of attention you gave it before storage. Start by removing the protective covering and inspecting the washer. Look at the exterior, electrical cord, hoses, fittings, drum, lid or door, and accessible seals. If any component appears damaged, cracked, or deteriorated, address the issue before attempting to operate the machine.
Next, consult the installation instructions for your model. If shipping bolts or other transport hardware were installed, they must be removed as directed before normal operation. Whirlpool specifically notes that running a front-load washer with shipping bolts still installed can lead to excessive vibration and may damage the machine. After the washer is positioned correctly, reconnect the water supply and drain according to the manufacturer's instructions. Check hose connections carefully and make sure the machine is level. Once the water is turned on, inspect the connections for leaks rather than assuming everything is secure. If something does not look right, stop before running a full load. A qualified appliance technician can address questionable connections or apparent damage more safely than trial and error.
A Little Organization Can Make Moving Feel Less Chaotic
Storing a washer properly protects an appliance, but temporary storage can also serve a larger purpose during a move. When bulky furniture, appliances, seasonal equipment, and boxes are removed from the immediate equation, there is more room to focus on the spaces that actually need attention. That breathing room can be particularly welcome during a move in Agawam. Instead of spending every free hour shifting boxes between rooms, residents can still make time for familiar local recreation. The Town of Agawam Parks and Recreation Department provides information about community recreation, facilities, sports, playgrounds, and other local activities.
Agawam also sits next to the Connecticut River and has access to outdoor recreation around the broader Pioneer Valley, making it easy to understand why residents may prefer an organized moving process that leaves some time for life outside a house full of boxes. Even a short break from packing can make a long move feel considerably more manageable. Of course, storage does not remove the work involved in moving. What it can do is divide that work into more manageable stages. Instead of forcing every appliance and piece of furniture into the new home immediately, you can concentrate on getting each space ready before bringing in the items that belong there.
Common Washing Machine Storage Mistakes to Avoid
Most problems associated with storing a washing machine come from rushing through one of the earlier steps. Fortunately, many are relatively easy to prevent. One common mistake is disconnecting the washer immediately after its final load. That leaves little time for cleaning, draining, and drying. Another is assuming that an empty-looking drum means the entire machine is dry. Water can remain in hoses and other areas even when the visible interior looks fine.
Transportation can create another set of mistakes. Moving a washer in an orientation not recommended by the manufacturer or failing to use the required transport hardware can expose internal components to unnecessary movement. Similarly, allowing cords and hoses to hang freely increases the chance of snagging or damage. Finally, poor placement inside the storage unit can turn a properly prepared washer into an inconvenience. A machine buried behind a wall of furniture may be protected, but retrieving it can require hours of rearranging. Planning where it goes before unloading is much easier.
Give the Washer a Better Start in Its Next Laundry Room
Moving a washing machine into storage is not complicated once the process is broken into manageable steps. The key is to start before moving day becomes hectic. Clean the machine thoroughly, give it time to dry, shut off and disconnect the water properly, drain the hoses, and organize all related components. Then follow the manufacturer's directions for securing and transporting the appliance. Once the washer reaches storage, keep it upright on a stable surface, protect the exterior, and avoid burying it beneath or behind belongings you will need to move again. Just as importantly, preserve the manual, photographs, hoses, and transport hardware so that reinstalling the appliance does not become a guessing game.
A washing machine is built to handle thousands of cycles over its working life, but a move creates conditions very different from everyday use. Giving it a little extra attention before storage can help ensure that its time between laundry rooms is uneventful. For people whose moving schedule leaves appliances waiting between homes,
Agawam Self Storage's options in Agawam
can provide space during that transition. With the washer properly prepared, protected, and organized before it goes into storage, there is one less moving-day problem waiting when the new laundry room is finally ready.